Skull cleaning: Five steps for cleaning bone specimens
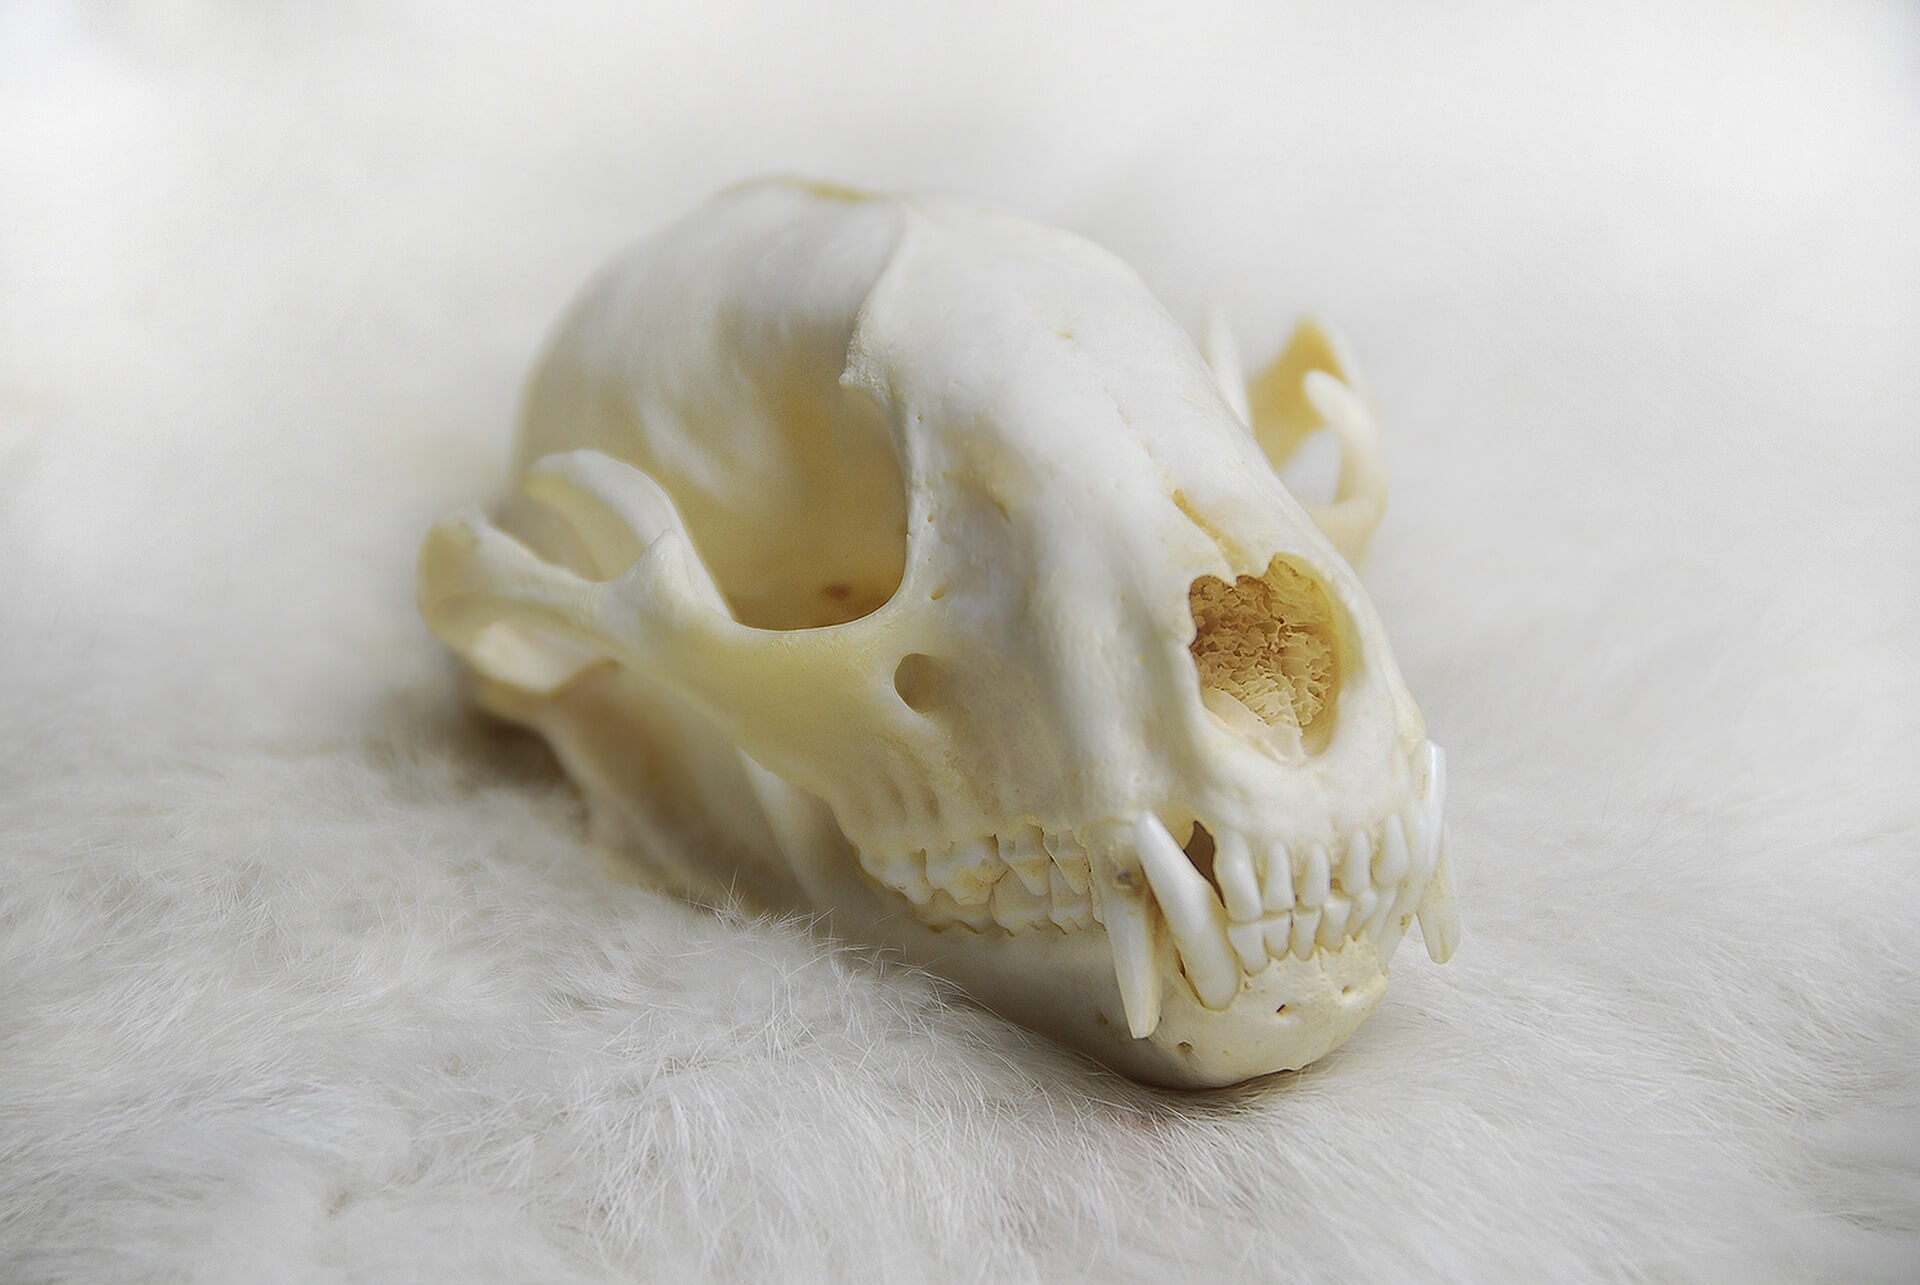
For centuries, man has been displaying animal skulls. Why? Here are several reasons.
Skulls honor a dead animal that was hunted or trapped. They symbolize wisdom. They represent transformation. They can be a cultural symbol. They are a great source of information about the animal. They might be used in a classroom as a teaching tool. They just look cool hanging on a wall or sitting on a shelf.
Regardless of the reason, skulls should be properly prepared and cleaned before displaying in any fashion. This shows the proper respect for the animal to which it belonged. It will also ensure that the skull remains in pristine condition for years to come. If not properly cleaned, the skull can become brittle, cracked, discolored, and broken.
Whether you legally hunt or trap the animal yourself or you find a skull while out hiking or as roadkill, here are five steps to clean an animal skull. If the skull cannot be cleaned immediately, freeze it until you’re ready to proceed.
We recommend reading through all steps before moving forward. Some steps have different methods that you can use. Since some methods require more preparation and take more time, you’ll want to make sure you have what you need before proceeding.
Step One: Gather your supplies
As you’ll see when we get into the next several steps, there are different ways to clean bones. However, here is a list of common supplies that you’ll need to clean and whiten an animal skull.
- Gloves
- Small knife or scalpel
- Tweezers or stick
- Handheld brushes (such as a toothbrush)
- Dish soap or enzyme laundry detergent
- Hydrogen peroxide (6-12%)
- Containers (appropriately sized for the skull)
After you decide how you want to proceed through the next steps, you can add other supplies to your list. The condition of the bones might also require other tools.
Step Two: Prepare the skull
If you killed the animal, this step may take more time than if you found the skull out in the woods. Start by using a small knife or scalpel to skin the head, removing the hair and hide. Then, remove as much flesh as possible. Continue to use the scalpel to remove larger chunks so as not to cut or damage the bone.
Use tweezers or a stick to remove the brain and other matter from inside the skull. You can use the spinal opening (the oval opening at the back of the skull where the spine would have connected with the skull) to access the back of the skull. If you’re working with the skull of a large animal (e.g., bear or wolf), you may be able to use a spoon to gently scrape the brain and tissue out.
If you’ve found a skull without soft tissue that is discolored or covered with nature, use warm soapy water and small hand-held brushes. An old toothbrush would work. Scrub the skull carefully to clean it.
As you prepare the skull, be careful around the nasal cavity and teeth, especially if you plan to keep them. They are small and can easily be lost or damaged. If anything falls out, set it aside to reattach later.
Step Three: Remove the soft tissue
Using a small knife and tweezers won’t get rid of all of the tissue. This next step focuses on removing the remaining soft tissue that is attached to the skull. Although there are other options, we’ve included information about three methods.
Method One: Using beetles
Professionals, such as taxidermists, law enforcement, and museum curators, use dermestid beetles. These beetles, also known as skin beetles or carpet beetles, are flesh-eating beetles. They are capable of consuming the soft tissue of any carcass. With this method, you don’t need to do as much to prepare the skull as mentioned above in step two.
You can purchase a colony of dermestid beetles for use in your own skull cleaning projects. The size of your project will determine the size of the colony you’ll need. Keep in mind that it does take time to cultivate a thriving colony that will be ready to eat its way through that soft tissue, so plan ahead. When you purchase your beetles, it should come with instructions to get your colony started and how to maintain it.
When your colony is ready to begin feasting, it is recommended that you freeze the head for at least 24 hours before feeding it to the beetles. This will help get rid of any outside pests that might already be in the head.
The amount of time needed to eat the soft tissue will vary on the size of the colony, the size of the skull, and the amount of soft tissue remaining. Closely monitor the beetles. If left too long, they will not stop at the soft tissue. They may also eat at the keratin which damages the integrity of the bone.
Method Two: Simmering
A quicker way to remove soft tissue is simmering. Simmering helps the remaining fat and tissue to loosen away from the bone. This method takes less time than the other two methods. However, it involves heat so it can cause damage to the bone if done wrong and may cause shrinkage, even if done right. So, use caution if you choose this method. Do not boil the skull. Boiling uses higher heat and you risk greater damage.
For this method, you’ll need a pot and a stove. If you’re working with an older skull with decayed tissue, you should know that the smell will be bad. We’d recommend using a castaway pot that you’re not going to use for many other things. We’d also encourage you to simmer the skull in an outside space using a camp stove. This will limit where the smell can travel.
Put the skull in the pot and fill it with enough water to cover an inch or two above the top of the skull. Turn on the stove to medium-low to slowly heat up the water to a simmer. A simmer is below boiling (180-200 F). When the water has reached the right temperature, you should see gentle bubbling in the water.
The time needed will vary based on the skull, the amount of remaining tissue, and whether it is thawed or frozen. Small skulls, such as a fox, might take an hour or two. Large skulls, such as a wolf or bear, might take up to eight hours. If the skull is frozen, add an additional 30 minutes.
Much of the remaining tissue will just fall off the bone. However, there may be some that still cling to the skull. Remove the stubborn tissue while it is still hot. This makes it easier. As it cools, the tissue hardens.
Once cleaned, leave the skull to cool and dry.
Method Three: Soaking
This third method, soaking, is perhaps the simplest one; however, it can take the longest. It is also the least damaging to the skull. You may also hear it referred to as maceration.
For this method, you will need a container that is appropriate for the size of the skull. This could be a bucket, storage container, can, or something else. It just needs to be large enough to fit the skull.
Place the skull in the container and fill it with water. Then, set it aside and wait. Ideally, the room temperature water should be on the warmer side.
The amount of time, again, will vary based on the size and condition of the skull. The skull may need to be in the water for days, weeks, or even months. As the skull sits in the water, the water softens the tissue and it falls off the bone.
As needed, add or replace the water. It will evaporate so you may need to top it off. It will also get gross. You may need to completely replace the water several times during this step. As you do this, be careful to not accidentally discard teeth that have fallen out. You can use a sieve to pour the water through to catch anything that has fallen off.
After the tissue has been removed, we recommend soaking the skull for at least another 24 hours in fresh water as the final part of this method. This will help eliminate any remaining odor. Repeat this step if needed.
After the skull is done soaking, let it sit to completely dry.
Step Four: Degrease the skull
Degreasing the skull is an important step. It helps remove the remaining fat out of the bones. Ultimately, this helps the skull to last longer. If this step is skipped, the fat will seep out over time and discolor the skull.
After the skull is devoid of soft tissue, place it in a container and fill it with water. Add an enzyme laundry detergent or a dish soap, such as Dawn, to the water. Add two tablespoons of soap per gallon of water. Let the skull sit for 24 to 48 hours. Heating the water to 120F will help dissolve fats that lay deep in the bone. Change the water when it gets murky until it stays clear for a few days.
After soaking, wash the skull in dish soap. Rinse thoroughly and allow to dry.
If you choose to simmer or soak the skull, you can also add detergent or dish soap to the water during that step. This can cut down on the time needed for this degreasing step.
Step Five: Whiten the skull
This final step is optional. If you want to keep the skull its natural color, you can stop here. However, if you’d like to have a brighter color, follow these steps to whiten the skull.
We recommend using the hydrogen peroxide method. You should never use liquid bleach as it is too harsh on the fragile skull.
You can purchase hydrogen peroxide at a beauty supply store in the form of hair developer. Volume 20 is a 6% solution of hydrogen peroxide. Volume 40 is 12%. A solution between 6-12% is safe to use on the skull. We would also encourage you to use gloves and protective eyewear when using the hydrogen peroxide.
To whiten, place the cleaned, degreased, and dried skull in a container. Cover with a combination of hydrogen peroxide and water. We recommend a ratio of one part hydrogen peroxide to three parts water. The hydrogen peroxide and water mixture will fizzle. This lets you know that it is working.
Leave the skull in the mixture until it has reached the desired level of whiteness. This will vary by skull and your personal preference. It could take two to three hours or a full day.
Once the skull is as white as you want it, remove from the hydrogen peroxide. Rinse with water thoroughly to remove all of the hydrogen peroxide. The hydrogen peroxide will continue to do its magic on the skull if not properly washed off. Then, let the skull dry.
If you have any loose teeth or other bits of bone that need to be reattached, you can use wood or white glue as it will dry clear. Wait until the bones are completely dry before using glue.
If you have questions about dermestid beetles or skull cleaning, or you decide that you’d rather use a professional taxidermist to clean your animal skull, reach out to us at Boneyard Beetleworks. We are a professional taxidermy company based out of Shelley, Idaho. We have specialized in the commercial sales of dermestid beetles since 2001.